前言:
同步文章图片有问题想看带有图片版的请移步: https://www.yuque.com/docs/share/3fbd7d5a-639c-4ca8-8500-00071b7cb23d?#BvpWF本篇文章涉及nginx的安装,目前分为两个版本linux安装和win10的安装 其中nginx的安装涉及到无root权限和在内网的情况下如何安装,对应的安装资源如下: 链接:https://pan.baidu.com/s/1EKGHX2oKIMdD8n7ravVwyQ 提取码:yyds win10版本的nginx安装包如下: 链接:https://pan.baidu.com/s/1n-6m0UhKhTtSprpzwm9HFA 提取码:yyds
Nginx–linux安装
 (相关资料图)
无root权限安装(内网安装)
1、创建tool目录

2、将nginx安装所需要的依赖放在tool目录下(这里我使用的是ftp工具)

3、将文件依次解压到当前目录

4、进入nginx-1.18.0目录下执行依次以下命令
注:第一条命令解析:./configure --prefix=/app/ywgk/nginx --with-http_realip_module --with-http_sub_module --with-http_flv_module --with-http_dav_module --with-http_gzip_static_module --with-http_stub_status_module --with-http_addition_module --with-pcre=/app/ywgk/tool/pcre-8.44 --with-openssl=/app/ywgk/tool/openssl-1.1.1g --with-http_ssl_module --with-zlib=/app/ywgk/tool/zlib-1.2.11 第一处:/app/ywgk/nginx 为nginx安装的绝对路径 第二处:/app/ywgk/tool/pcre-8.44 为上一步解压缩nginx的依赖pcre的绝对路径 第三处:/app/ywgk/tool/openssl-1.1.1g 为上一步解压缩nginx的依赖openssl的绝对路径 第四处:/app/ywgk/tool/zlib-1.2.11为上一步解压缩nginx的依赖zlib的绝对路径
第一条:注(/app/ywgk/tool 此处填写绝对路径)./configure --prefix=/app/ywgk/nginx --with-http_realip_module --with-http_sub_module --with-http_flv_module --with-http_dav_module --with-http_gzip_static_module --with-http_stub_status_module --with-http_addition_module --with-pcre=/app/ywgk/tool/pcre-8.44 --with-openssl=/app/ywgk/tool/openssl-1.1.1g --with-http_ssl_module --with-zlib=/app/ywgk/tool/zlib-1.2.11第二条:make第三条:make install
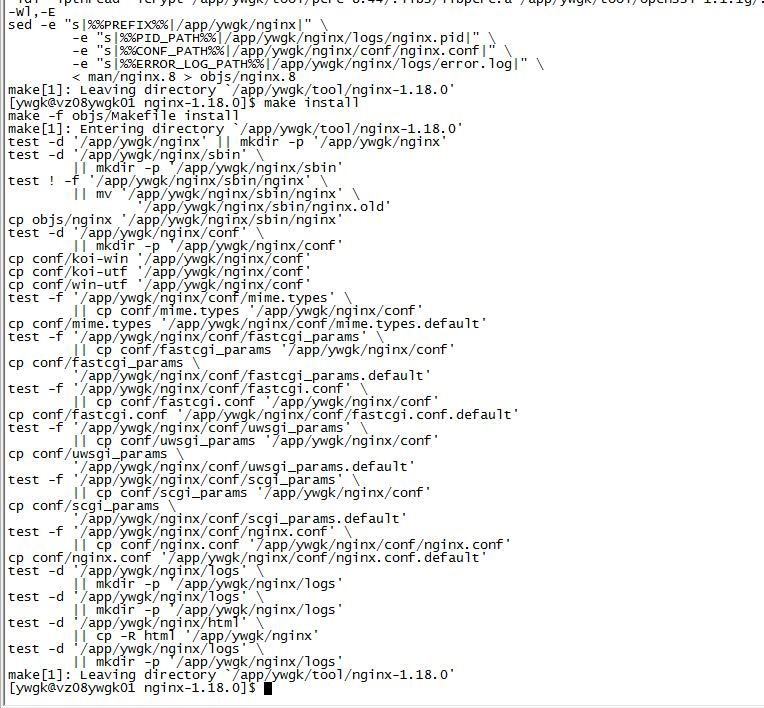
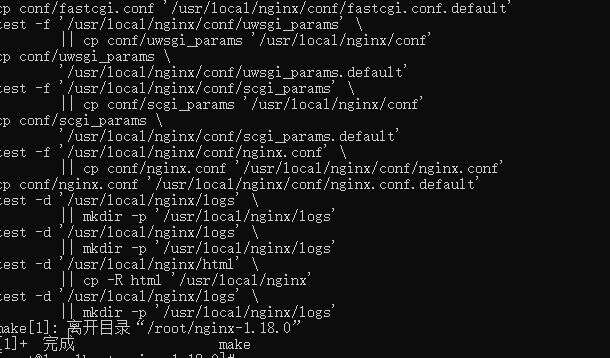
5、去到/app/ywgk/nginx下可以看到nginx安装完成
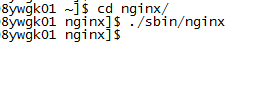 访问对应ip加端口可以看到nginx的首页 
有root权限安装(可以连接外网)
1、Nginx依赖-gcc
1.1、gcc简介
Gcc(GNU C Compiler)是GNU推出的功能强大、性能优越的多平台编译器。安装nginx需要通过Gcc工具进行编译,生成ngixn的可执行的文件。
1.2、检测gcc安装版本
gcc -v
未安装:  已安装: 
1.3、安装gcc
yum install gcc-c++

2、Nginx依赖-pcre
2.1、pcre简介
PCRE(Perl Compatible Regular Expressions) 是一个Perl库,包括 perl 兼容的正则表达式库。nginx 的 http 模块使用 pcre 来解析正则表达式,所以需要在 linux 上安装 pcre 库,pcre-devel 是使用 pcre 开发的一个二次开发库。nginx也需要此库。
2.2、检测pcre安装的版本
rpm -qa pcre

2.3、安装pcre
yum install -y pcre pcre-devel

3、Nginx依赖-zlib
3.1、zlib简介
zlib 库提供了很多种压缩和解压缩的方式, nginx 使用 zlib 对 http 包的内容进行 gzip ,所以需要在 Centos 上安装 zlib 库。
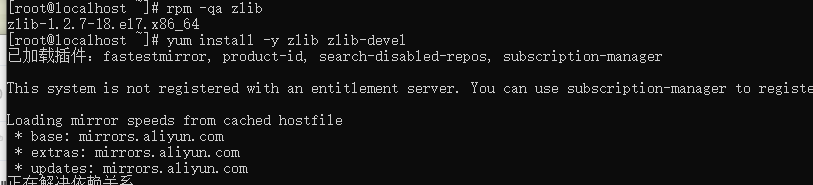
3.2、检测zlib安装的版本
rpm -qa zlib

3.3、安装zlib
yum install -y zlib zlib-devel
4、 Nginx依赖-OpenSSL
4.1、OpenSSL 简介
OpenSSL 是一个强大的安全套接字层密码库,囊括主要的密码算法、常用的密钥和证书封装管理功能及 SSL 协议,并提供丰富的应用程序供测试或其它目的使用。nginx 不仅支持 http 协议,还支持 https(即在ssl协议上传输http),所以需要在 Centos 安装 OpenSSL 库。
4.2、检测OpenSSL安装版本
rpm -qa|grep -i openssl

4.3、安装OpenSSL
yum install -y openssl openssl-devel

5、下载nginx安装包
方式一:
去官网(https://nginx.org/en/download.html),我这里选了nginx-1.18.0版本

方式二:
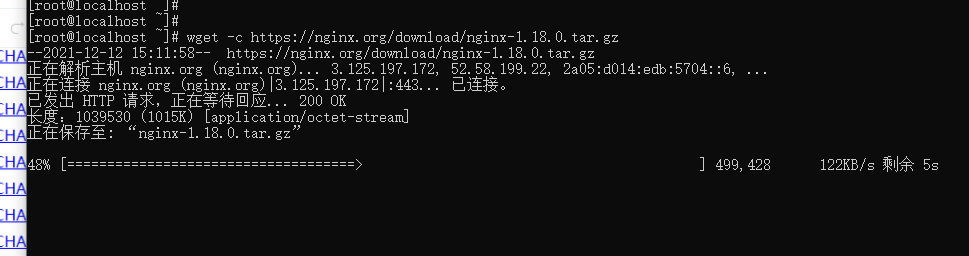
使用wget命令下载(推荐):
wget -c https://nginx.org/download/nginx-1.18.0.tar.gz
6、解压缩nginx压缩包
tar -xf nginx-1.18.0.tar.gz

7、去nginx解压的目录下执行编译安装
依次执行如下命令
cd nginx-18.0 ./configure make & make install
使用whereis nginx 查看nginx的安装路径 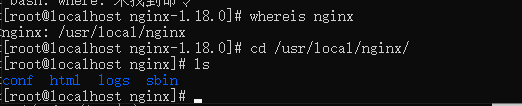 8、启动nginx,可以查看nginx的主页  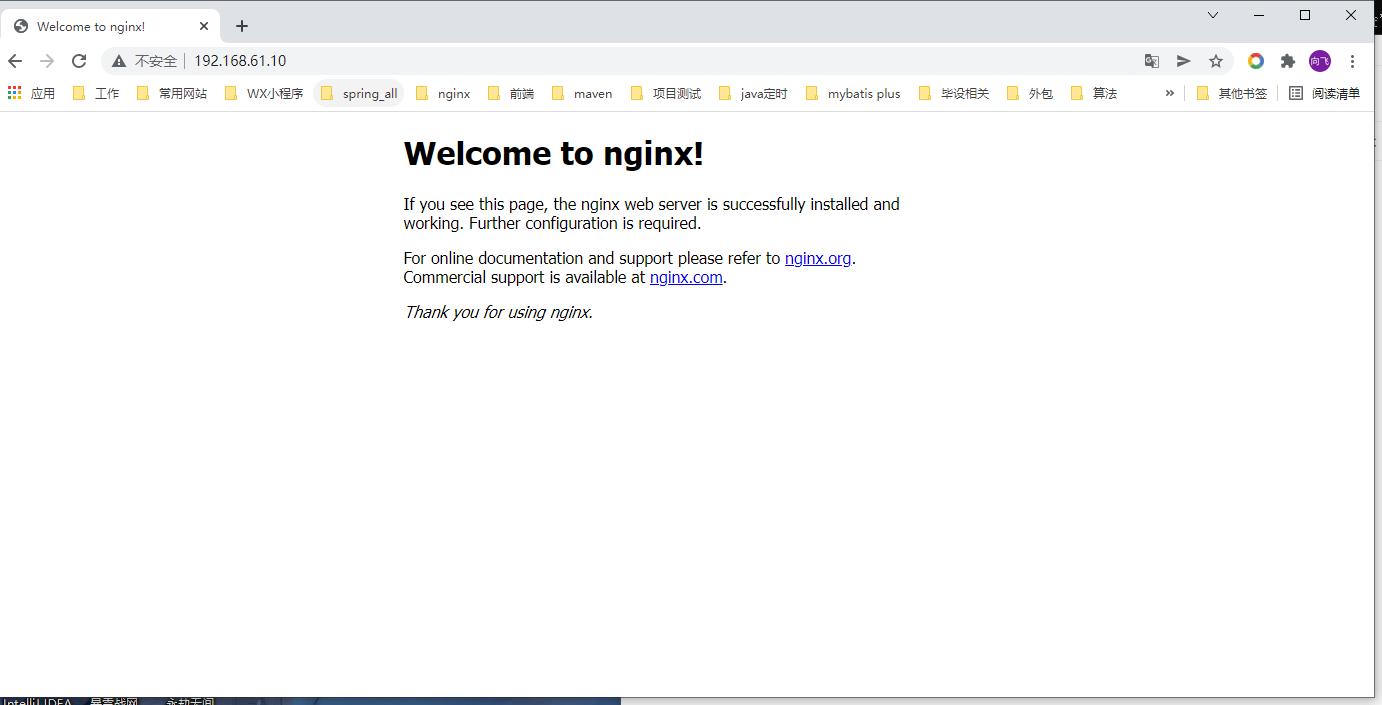
Nginx–windows安装
1、直接进行解压缩
 2、当前目录下输入cmd 打开黑框  3、输入.\nginx启动 